plotCoverageArea
センサーのカバレッジ領域を鳥瞰図プロット上に表示
説明
plotCoverageArea( は、自車センサーのカバレッジ領域を鳥瞰図プロット上に表示します。センサーの位置、範囲、方向角度、視野を指定します。カバレッジ領域プロッター caPlotter,position,range,orientation,fieldOfView)caPlotter は、birdsEyePlot オブジェクトに関連付けられており、センサーのカバレッジ領域の表示を構成します。
例
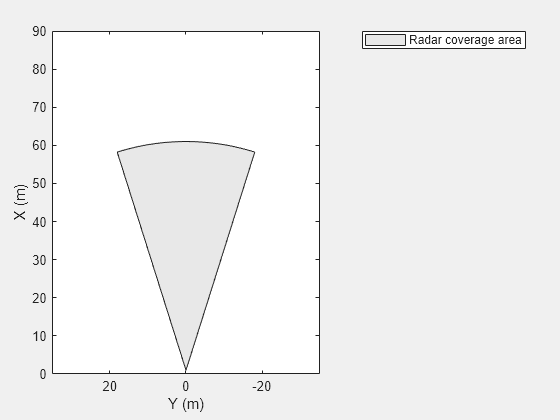
"x" 軸の範囲が 0 ~ 90 メートル、"y" 軸の範囲が -35 ~ 35 メートルの鳥瞰図プロットを作成します。
bep = birdsEyePlot('XLim',[0 90],'YLim',[-35 35]);

鳥瞰図プロットのカバレッジ領域プロッターを作成します。
caPlotter = coverageAreaPlotter(bep,'DisplayName','Radar coverage area');

視野が 35 度、範囲が 60 メートルのカバレッジ領域を表示します。カバレッジ領域センサーを、原点の 1 メートル前に取り付けます。センサーの方向角度を 0 度に設定します。
mountPosition = [1 0];
range = 60;
orientation = 0;
fieldOfView = 35;
カバレッジ領域をプロットします。
plotCoverageArea(caPlotter,mountPosition,range,orientation,fieldOfView);
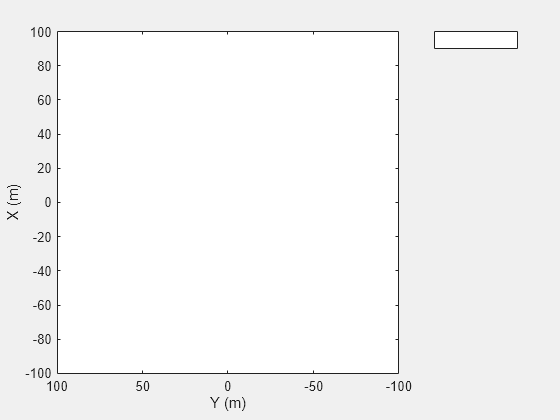
"x" 軸の範囲が -100 ~ 100 メートル、"y" 軸の範囲が -100 ~ 100 メートルの鳥瞰図プロットを作成します。
bep = birdsEyePlot('XLim',[-100 100],'YLim',[-100 100]);
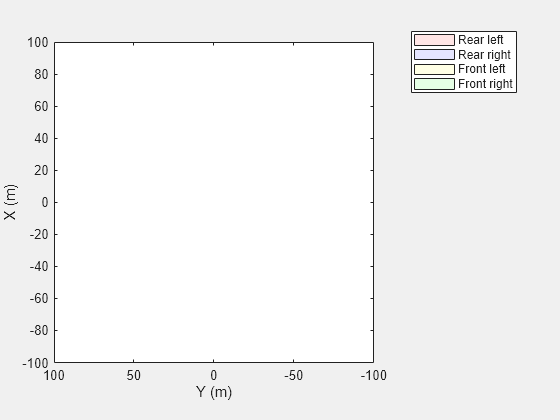
カバレッジ領域プロッターを一意な表示名で作成し、車両上の各センサーの位置に色を塗ります。
rearLeftPlotter = coverageAreaPlotter(bep,'DisplayName','Rear left','FaceColor','r');
rearRightPlotter = coverageAreaPlotter(bep,'DisplayName','Rear right','FaceColor','b');
frontLeftPlotter = coverageAreaPlotter(bep,'DisplayName','Front left','FaceColor','y');
frontRightPlotter = coverageAreaPlotter(bep,'DisplayName','Front right','FaceColor','g');
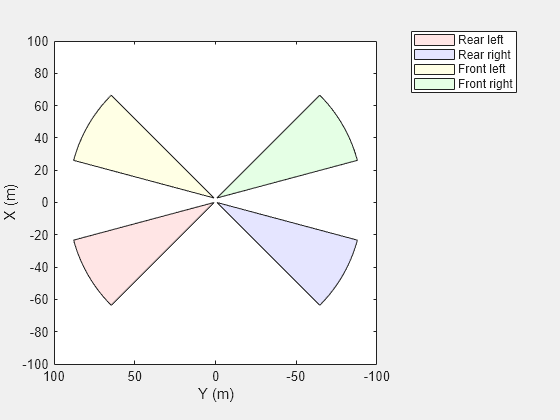
センサーの位置、範囲、方向、視野を設定します。センサーの最大範囲は 90 メートル、視野は 30 度です。カバレッジ領域をプロットします。
plotCoverageArea(rearLeftPlotter,[0 0.9],90,120,30);
plotCoverageArea(rearRightPlotter,[0 -0.9],90,-120,30);
plotCoverageArea(frontLeftPlotter,[2.8 0.9],90,60,30);
plotCoverageArea(frontRightPlotter,[2.8 -0.9],90,-60,30);
入力引数
カバレッジ領域プロッター。CoverageAreaPlotter オブジェクトとして指定します。このオブジェクトは birdsEyePlot オブジェクトの Plotters プロパティに保存され、鳥瞰図プロットでのカバレッジ領域の表示を構成します。このオブジェクトを作成するには、関数 coverageAreaPlotter を使用します。
車両座標によるセンサーの位置。[XOriginOffset YOriginOffset] 形式の実数値ベクトルとして指定します。単位はメートルです。
XOriginOffset は、原点から前方に向かったセンサーの距離を指定します。
YOriginOffset は、原点から左に向かったセンサーの距離を指定します。
車両座標系の次の図に示すように、原点は後車軸の中心にあります。

センサーの範囲。正の実数スカラーとして指定します。単位はメートルです。
自車の X 軸を基準としたセンサーの方向角度。実数スカラーとして指定します。単位は度です。orientation は、反時計回りの方向 (左) に正です。
センサーのカバレッジ領域の視野。正の実数スカラーとして指定します。単位は度です。
バージョン履歴
R2017a で導入