このページは機械翻訳を使用して翻訳されました。最新版の英語を参照するには、ここをクリックします。
ESP32 カメラボードから ThingSpeak に画像を書き込む
この例では、ESP32 カメラ ボードから画像をキャプチャし、ThingsSpeak® 画像チャネルに書き込む方法を示します。
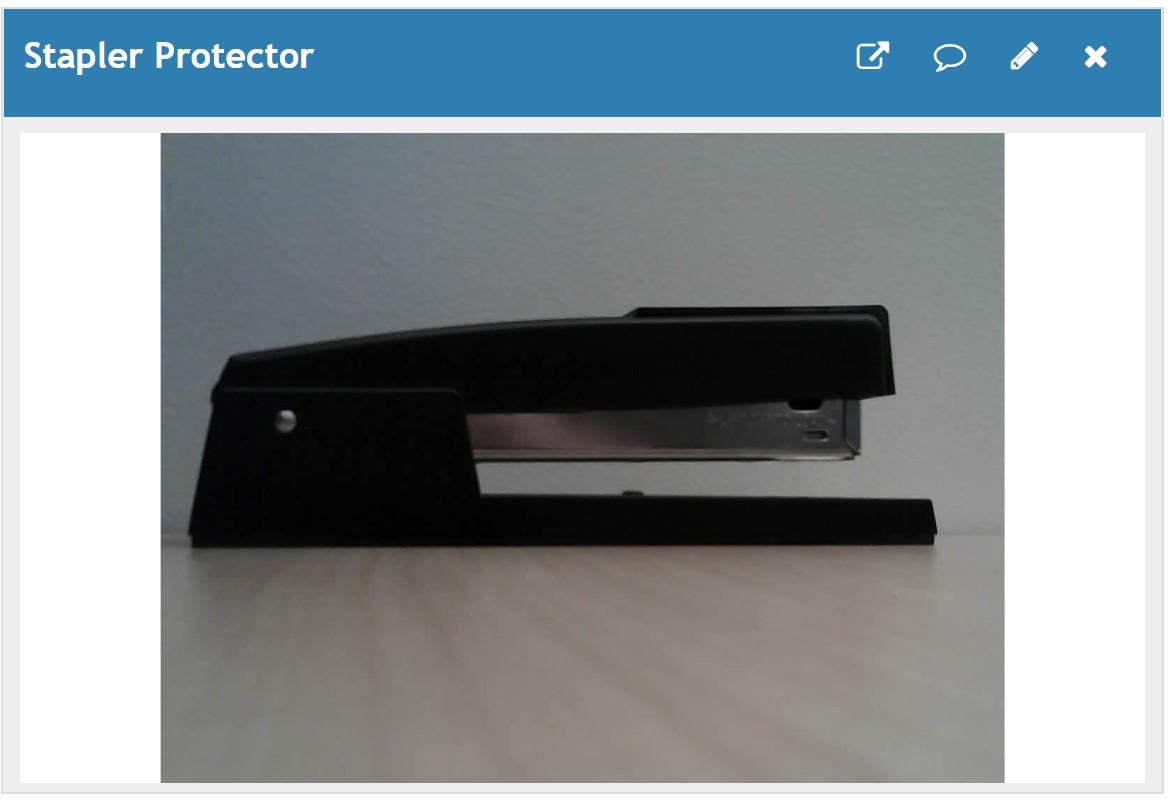
この例では、A.I.Thinker ボードと互換性のある ESP32 カメラ ボードを使用します。定義されたピンを調整することで他のタイプも使用できます。例 ソナー近接センサーによるプロトタイピング は、近接センサーを使用してホッチキスを安全に保つ方法を示しています。この例では、ホッチキスの画像を保存して、窃盗犯の阻止や逮捕に役立てることができます。
設定
1) 画像チャネルを作成する の説明に従って、新しい ThingSpeak 画像チャネルを作成します。
2) 新しいチャネルでデータを収集する の説明に従って、新しい ThingSpeak データチャネルを作成します。
3) イメージの表示 の説明に従って、データチャネルのビューに画像表示ウィジェットを追加します。
ESP32をプログラムする
Arduino IDE を使用して、デバイス用のアプリケーションを作成します。
1) マイクロ USB ケーブルを使用して ESP32 をコンピューターに接続し、正常に接続されるまで待ちます。

2) Arduino IDE で、ESP32 開発モジュール ボードと正しい COM ポートを選択します。
3) アプリケーションを作成します。Arduino IDE で新しいウィンドウを開き、ファイルを保存します。コードセクションで提供されているコードを追加します。画像チャネルのワイヤレス ネットワーク SSID、パスワード、書き込み API キーを編集します。
コード
1) 必要なライブラリをインクルードし、接続パラメーターを定義します。設定に合わせて Wi-Fi および画像チャネルパラメーターを編集してください。
#include "esp_camera.h"
#include <WiFiClientSecure.h>

#define PWDN     32
#define RESET    -1
#define XCLK      0
#define SIOD     26
#define SIOC     27
#define Y9       35
#define Y8       34
#define Y7       39
#define Y6       36
#define Y5       21
#define Y4       19
#define Y3       18
#define Y2        5
#define VSYNC    25
#define HREF     23
#define PCLK     22
// Network information.
#define WIFI_SSID "WIFI_NAME"
#define WIFI_PASSWORD "YOUR_WIFI_PASSWORD"

// ThingSpeak information.
#define IMAGE_CHANNEL_ID "YOUR_THINGSPEAK_IMAGE_CHANNEL_ID"
#define IMAGE_CHANNEL_API_KEY "YOUR_THINGSPEAK_IMAGE_CHANNEL_API_KEY"

#define THINGSPEAK_ADDRESS "data.thingspeak.com"

#define RESPONSE_TIMEOUT 5000
#define MAX_BLOCK_SIZE 16384
#define SNAPSHOT_PERIOD 50000

WiFiClientSecure client = NULL;
unsigned long previousSnapshotTime = 0;
bool cameraAvailable = false;
2) ローカル Wi-Fi ネットワークに接続します。
void connectWifi()
{
    while (WiFi.status() != WL_CONNECTED) {
        WiFi.begin( WIFI_SSID, WIFI_PASSWORD );
        Serial.println( "Connecting to Wi-Fi" );
        delay( 5000 );
    }
    // Skip checking of server certs.
    client.setInsecure();
    Serial.println( "WiFi Connected" );
}
3) カメラを初期化します。
bool initCamera() {
  static camera_config_t config  = {
    .pin_pwdn = PWDN,
    .pin_reset = RESET,
    .pin_xclk = XCLK,
    .pin_sscb_sda = SIOD,
    .pin_sscb_scl = SIOC,
    .pin_d7 = Y9,
    .pin_d6 = Y8,
    .pin_d5 = Y7,
    .pin_d4 = Y6,
    .pin_d3 = Y5,
    .pin_d2 = Y4,
    .pin_d1 = Y3,
    .pin_d0 = Y2,
    .pin_vsync = VSYNC,
    .pin_href = HREF,
    .pin_pclk = PCLK,
    .xclk_freq_hz = 20000000,
    .ledc_timer = LEDC_TIMER_0,
    .ledc_channel = LEDC_CHANNEL_0,
    .pixel_format = PIXFORMAT_JPEG,
    .frame_size = FRAMESIZE_QSXGA,
    .jpeg_quality = 10,
    .fb_count = 1,
  };

  if (esp_camera_init(&config) != ESP_OK) {
    Serial.println("Camera initialization failed");
    return false;
  }

  sensor_t * s = esp_camera_sensor_get();
  s->set_brightness(s, 0); // -2 to 2
  s->set_contrast(s, 2); // -2 to 2
  s->set_saturation(s, -2); // -2 to 2
  s->set_whitebal(s, 1); // 0 = disable , 1 = enable
  s->set_awb_gain(s, 1); // 0 = disable , 1 = enable
  s->set_wb_mode(s, 0); // 0 to 4 - if awb_gain enabled (0 - Auto, 1 - Sunny, 2 - Cloudy, 3 - Office, 4 - Home)
  s->set_exposure_ctrl(s, 1); // 0 = disable , 1 = enable
  s->set_aec2(s, 1); // 0 = disable , 1 = enable
  s->set_gain_ctrl(s, 0); // 0 = disable , 1 = enable
  s->set_agc_gain(s, 0); // 0 to 30
  s->set_gainceiling(s, (gainceiling_t)6); // 0 to 6
  s->set_bpc(s, 1); // 0 = disable , 1 = enable
  s->set_wpc(s, 1); // 0 = disable , 1 = enable
  s->set_raw_gma(s, 1); // 0 = disable , 1 = enable (makes much lighter and noisy)
  s->set_lenc(s, 1); // 0 = disable , 1 = enable
  s->set_hmirror(s, 0); // 0 = disable , 1 = enable
  s->set_vflip(s, 0); // 0 = disable , 1 = enable
  s->set_dcw(s, 0); // 0 = disable , 1 = enable
  return true;
}
4) ThingSpeak サーバーからの応答をシリアルポートに出力します。
void printResponse(){

  unsigned long startTime = millis();
  // Wait a few hundred milliseconds for server to process the request
  delay( 100 );
  while ( client.available() < 1 && (( millis() - startTime ) < RESPONSE_TIMEOUT ) ){
    delay( 10 );
  }

  // Read server response and print it to serial port
  if( client.available() > 0 ){
    do {
      Serial.write(client.read());
    } while ( client.available() > 0 );
    Serial.println(' ');
  }
}
5) 写真を撮り、その画像を上記の ThingSpeakチャネルに送信します。デバッグのために各クライアントの出力をシリアル モニターにエコーします。
bool snapshotToThingSpeak() {
  bool result = false;
  // Only send image to ThingSpeak if sufficient time has passed since previous send.
  if ( cameraAvailable && ( millis() > previousSnapshotTime + SNAPSHOT_PERIOD) ) {
    // Capture a new image from the camera.
    camera_fb_t *frame = esp_camera_fb_get();
    if (!frame) return result;
    // Connect to ThingSpeak and send image
    // Echo client commands to serial port for debugging
    if (client.connect(THINGSPEAK_ADDRESS, 443)) {
      Serial.println("Writing image to ThingSpeak");
      client.print( "POST /channels/");
      Serial.print( "POST /channels/");
      client.print( IMAGE_CHANNEL_ID );
      Serial.print( IMAGE_CHANNEL_ID );
      client.println( "/images HTTP/1.1" );
      Serial.print( IMAGE_CHANNEL_ID );
      client.println( "Connection: close" );
      Serial.println( "Connection: close" );
      client.print( "Host: " );
      Serial.print( "Host: " );
      client.println(THINGSPEAK_ADDRESS);
      Serial.println(THINGSPEAK_ADDRESS);
      client.print( "Thingspeak-image-channel-api-key: ");
      Serial.print( "Thingspeak-image-channel-api-key: ");
      client.println( IMAGE_CHANNEL_API_KEY );
      Serial.println( IMAGE_CHANNEL_API_KEY );
      client.println( "Content-Type: image/jpeg" );
      Serial.println( "Content-Type: image/jpeg" );
      client.print( "Content-Length: ");
      Serial.print( "Content-Length: ");
      client.println(frame->len);
      Serial.println(frame->len);
      client.println(  );
      Serial.println(  );
      uint8_t *fbBuf = frame->buf;
      long int fbLen = frame->len;
      do {
        client.write(fbBuf, ( (fbLen > MAX_BLOCK_SIZE) ? MAX_BLOCK_SIZE : fbLen) );
        fbLen -= MAX_BLOCK_SIZE;
        fbBuf += MAX_BLOCK_SIZE;
      } while (fbLen > 0);
      client.flush();
      // Print out server response to serial port.
      printResponse();
      client.stop();
      result = true;
    } else {
      Serial.print("Unable to connect to ");
      Serial.println(THINGSPEAK_ADDRESS);
    }
    // Update the stored time when the last image was written.
    previousSnapshotTime = millis();
    // Free the memory buffer for the image so we don't leak memory and segmentation fault.
    esp_camera_fb_return(frame);
    return result;
  }
}
6) 初期化ルーチンを実行します。
void setup() {
   // Open serial port for printing debug messages.
   Serial.begin( 115200 );

   // Connect to WiFi
   connectWifi();

   // Initialize the camera
   if (initCamera()){
    Serial.println("Camera initialized");
    cameraAvailable = true;
   }
}
7) 画像を連続的にループして ThingSpeak に送信します。
void loop() {
// If the connection is lost, reconnect.
  if (WiFi.status() != WL_CONNECTED) {
    connectWifi();
  }
  snapshotToThingSpeak();
  delay(30);
}
イメージを書き込む
ページ ビューで画像表示ウィジェットを監視しながらコードを実行します。