メインコンテンツ

uifitangle

R2026b

Interactively measure angle in image using angle tool

Since R2026b

Description

The uifitangle object configures an angle measurement tool on an image object that you create using the imageshow function. You can use this measurement tool to interactively measure angles in an image.

To automatically adjust or correct the placement of the measurement tool to align precisely with an edge, use the snap object function. To programmatically measure angles, use the fitangle function.

Creation

Description

hAngle = uifitangle(hImage) configures an angle measurement tool on the displayed image hImage.

example

hAngle = uifitangle(hImage,PropertyName=Value) sets writable properties using one or more name-value arguments.

For example, LineSnapMethod="parallel" specifies to snap a proposed angle line to the linear edge that has the highest cosine similarity to the proposed line.

example

Input Arguments

expand all

Input image object, specified as an images.ui.graphics.Image object. To create this image object, use the imageshow function.

Note

By default, spatial image coordinates are in the intrinsic coordinate system, where the center of the upper left pixel has intrinsic coordinates (1.0, 1.0). If you perform a coordinate transformation on the image input to the hImage argument, units are defined in the world coordinate system. To learn more, see Image Coordinate Systems.

Name-Value Arguments

expand all

Specify optional pairs of arguments as Name1=Value1,...,NameN=ValueN, where Name is the argument name and Value is the corresponding value. Name-value arguments must appear after other arguments, but the order of the pairs does not matter.

Example: uifitangle(hImage,LineSnapMethod="parallel") specifies to snap a proposed angle line to the linear edge that has the highest cosine similarity to the proposed line.

Position of the angle tool, specified as a 3-by-2 numeric matrix. The rows of the numeric matrix are in the form [x, y] and represent the start point, vertex point, and end point coordinates that define the angle.

You can specify Position programmatically in the MATLAB Command Window, or interactively by clicking a start point in the specified image hImage and then clicking the vertex and end point.

Snap the angle to linear edges during interactive placement, specified as a numeric or logical 1 (true) or 0 (false). If you specify Snap as true, the tool snaps the start point first, and then snaps the two lines between the start point, vertex point, and end point.

Specify the snap method using the LineSnapMethod argument. Specify the snap neighborhood using the SnapNeighborhood argument.

Snapping neighborhood, specified as a positive integer. The SnapNeighborhood is the region of the image within which the angle tool scans for linear edges to snap to. For the start point, this value is the radius around the point. For the line segments from the vertex to the start and end points, this value is the perpendicular distance on either side of the segment. Units are in pixels.

To enable automatic snapping of the angle to linear edges, specify the Snap argument as true (or 1).

Method for automatically aligning reference lines to edges, specified as one of these options:

  • "closest" — Snap the reference line to the closest linear edge based on pixel distance from the midpoint of the reference line to the linear edge. Use this method for simple images with well-defined edges.

  • "strongest" — Snap the reference line to the linear edge with the highest Hough accumulator value. Use this method when multiple edges are close together but one is more prominent, or in noisy images where only strong features are of interest.

  • "parallel" — Snap the reference line to the linear edge that has the highest cosine similarity to the reference line. Use this method to snap to the edge that is most parallel to a specified reference line, regardless of its position.

  • "combined" — Snap the reference line to a linear edge based on the combined metrics of the "closest", "strongest", and "parallel" methods.

  • "none" — Do not snap the reference line.

If the tool detects no edges, the uifitangle object does not perform automatic alignment to an edge, or snapping.

To enable automatic snapping of the angle to linear edges, specify the Snap name-value argument as true (or 1).

Method for snapping the start point to a linear edge, specified as one of these options:

  • "closest" — Snap to the closest linear edge based on distance from the start point to the linear edge

  • "strongest" — Snap to the linear edge with the highest Hough accumulator value.

  • "none" — Do not snap the start point to a linear edge.

To enable automatic snapping of the angle start point to a linear edge, specify the Snap name-value argument as true (or 1).

Edge detection method for snapping, specified as a logical array or one of these options.

MethodDescription
"canny"

Finds edges by looking for local maxima of the gradient of the image. The edge function calculates the gradient using the derivative of a Gaussian filter. This method uses two thresholds to detect strong and weak edges, including weak edges in the output if they are connected to strong edges. By using two thresholds, the Canny method is less likely than the other methods to be fooled by noise, and more likely to detect true weak edges.

"sobel"

Finds edges at those points where the gradient of the image is maximum, using the Sobel approximation to the derivative.

"prewitt"

Finds edges at those points where the gradient of the image is maximum, using the Prewitt approximation to the derivative.

"roberts" Finds edges at those points where the gradient of the image is maximum, using the Roberts approximation to the derivative.
"log" Finds edges by looking for zero-crossings after filtering the image with a Laplacian of Gaussian (LoG) filter.
"zerocross" Finds edges by looking for zero-crossings after filtering the image.
"approxcanny"

Finds edges using an approximate version of the Canny edge detection algorithm that provides faster execution time at the expense of less precise detection.

If you specify EdgeMap as a logical array, you define a binary image that contains precomputed edge locations for snapping. Select this option to avoid repeated edge detection when making multiple measurements on the same image.

Angle measurement tool color, specified as an RGB triplet, or a long or short color name.

Output Arguments

expand all

Angle measurement tool, returned as a uifitangle object.

Properties

expand all

Position of the angle measurement tool, specified as a 3-by-2 numeric matrix. The rows of the numeric matrix are in the form [x, y] and represent the start point, vertex point, and end point coordinates that define the angle.

Angle measurement tool color, specified as an RGB triplet, or a long or short color name.

This property is read-only.

Measured angle, specified as a positive numeric scalar.

Object Functions

snapSnap measurement tool line or points to edge in image

Examples

collapse all

Read a test image of a metal plate into the workspace.

A = imread("solidplate.png");

Adjust the image contrast, and display the image using the imageshow function.

A = imadjust(A);
hIm = imageshow(A);
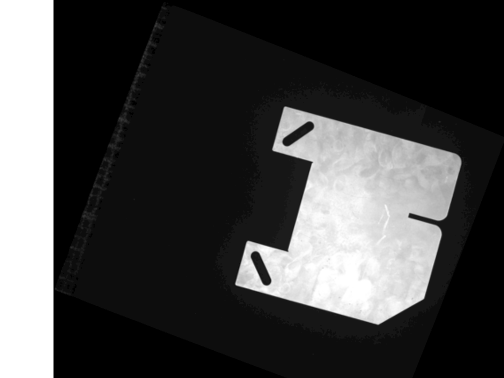
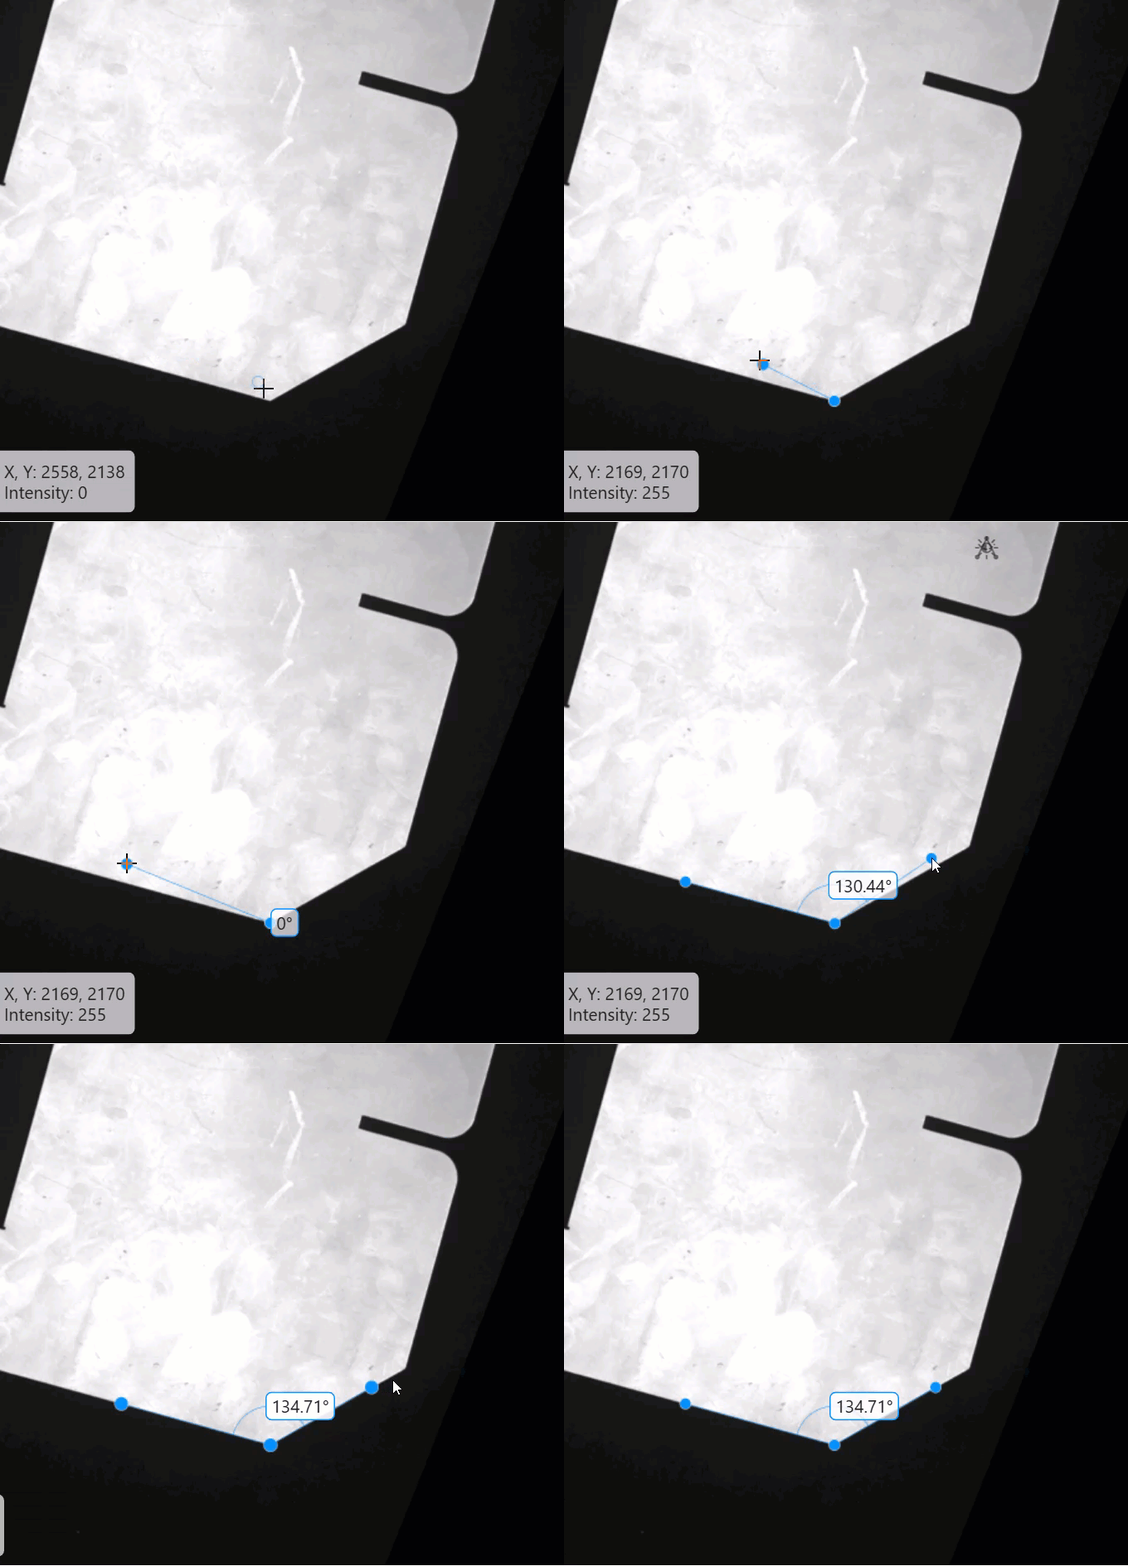
To interactively measure angles, configure the angle tool on the displayed image by using the uifitangle object. Position the angle tool at the vertex of the angle to measure, and then drag it to the two angle edges.

hAngle = uifitangle(hIm);

This GIF shows how to perform an angle measurement using the angle tool.
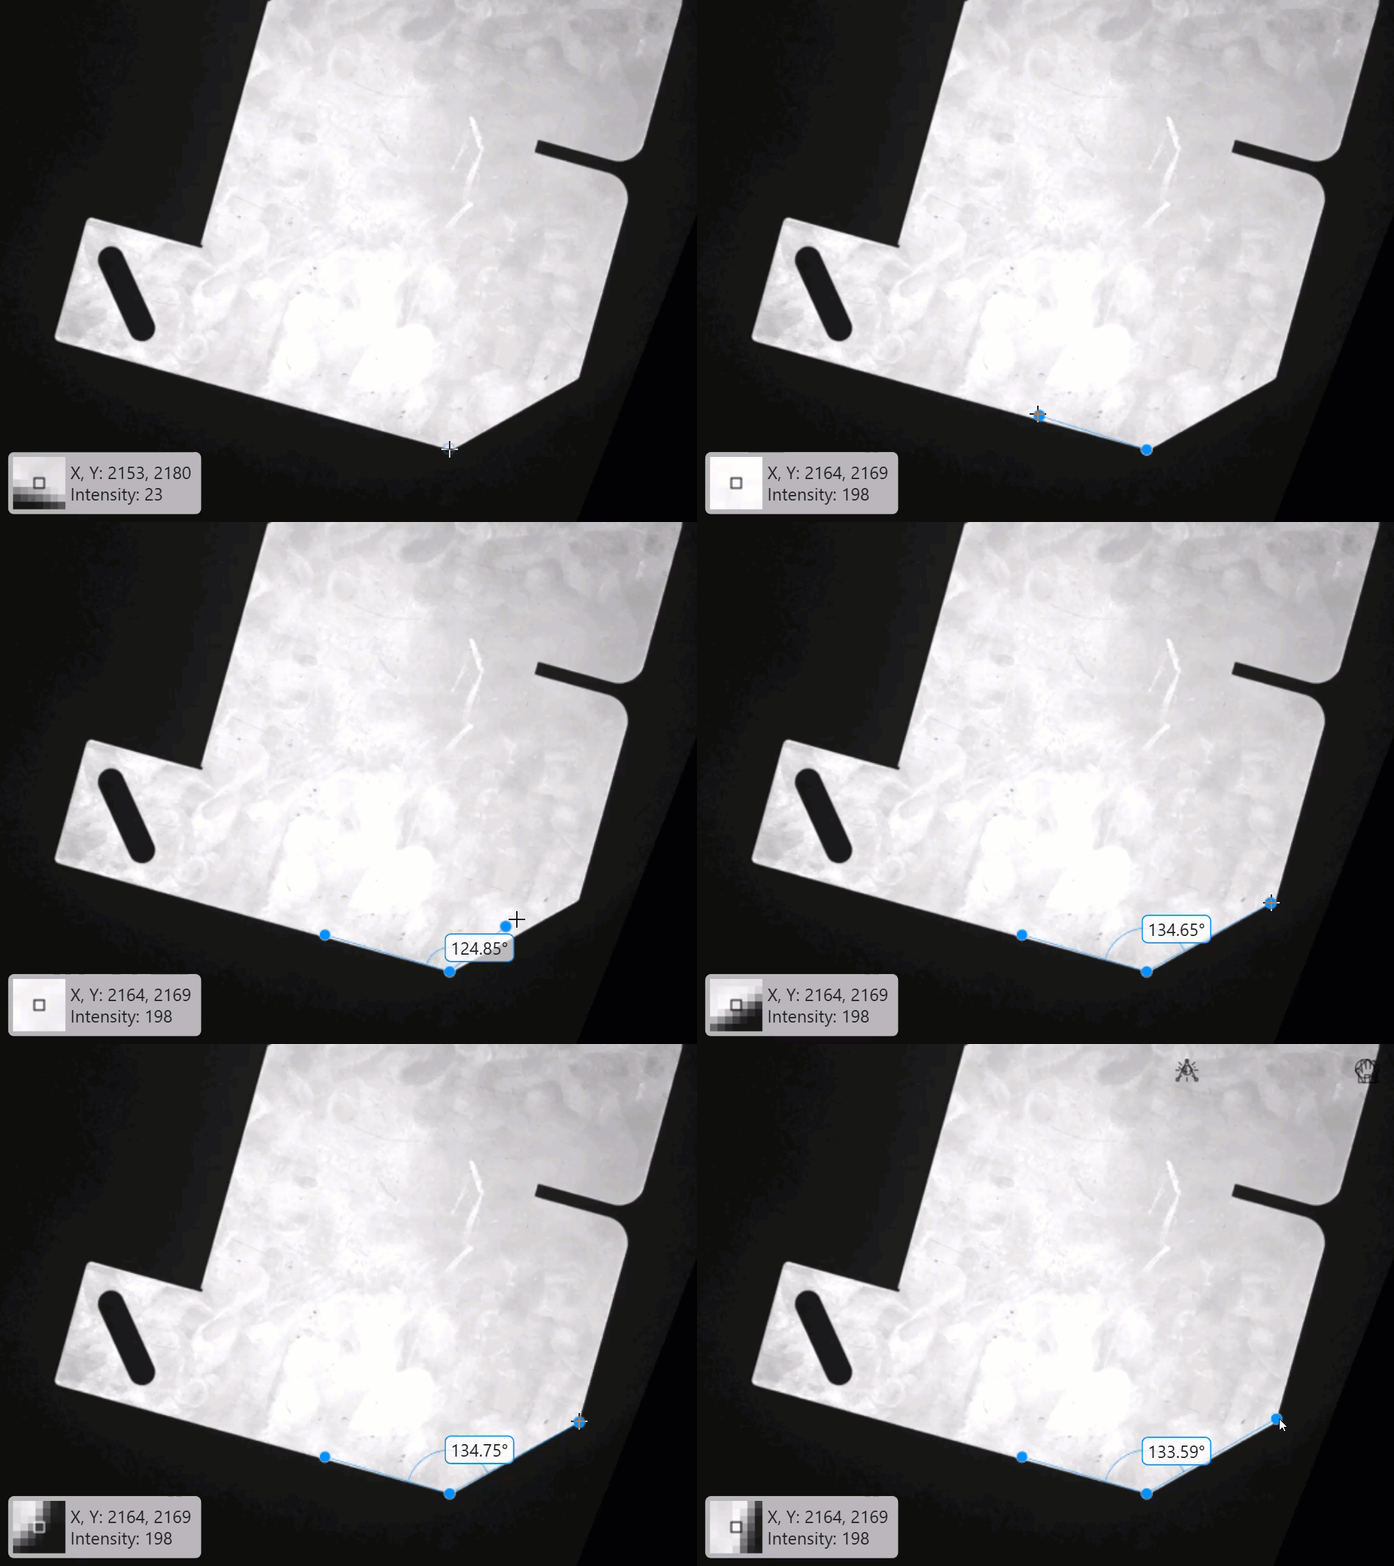
Animation showing a user performing an interactive measurement of an angular feature by interactively placing the angle tool.

Automatically Snap Angle Tool to Edges

To snap the position of the angle tool to the nearest plate vertex and edges after you have already interactively placed the tool and obtained a measurement, use the snap object function.

snap(hAngle)

This figure shows the updated, more precise angle measurement on the displayed image after snapping the angle tool. To snap the angle tool to edges while you are interactively measuring, see Automatically Align Interactive Angle Measurement Tool to Edges.
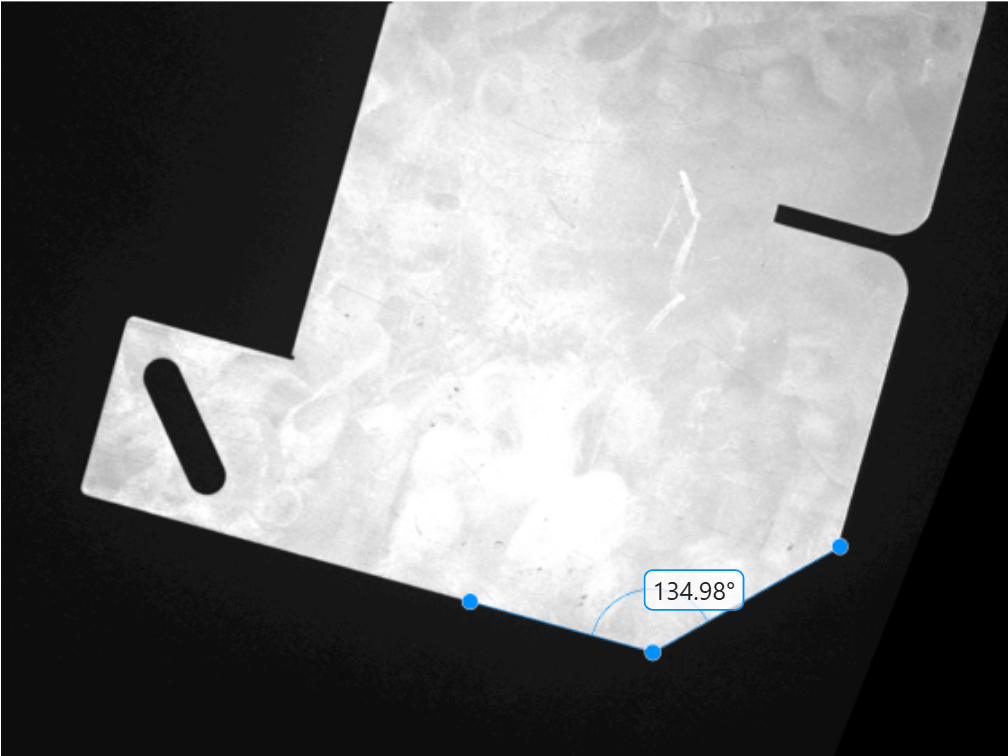
Image of the angle tool position and angle measurement after snapping the tool to the nearest vertex and metal plate edges.

Read a test image of a metal plate into the workspace.

A = imread("solidplate.png");

Adjust the image contrast, and display the image using the imageshow function.

A = imadjust(A);
hImSnap = imageshow(A);
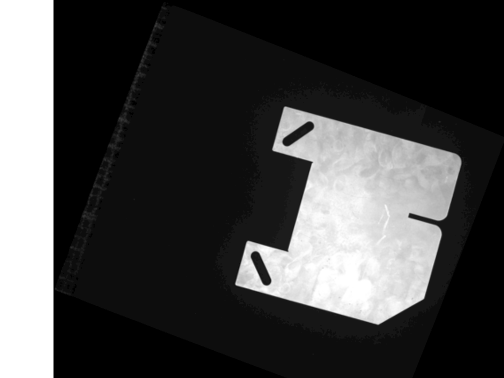
To interactively measure angles, configure the angle tool on the displayed image by using the uifitangle object. To snap the position of the angle tool to the underlying edges as you interactively place the tool, specify the Snap name-value argument as true.

hAngle = uifitangle(hImSnap,Snap=true);

This GIF shows a measurement where the tool automatically snaps to the nearest plate edges after it is placed.
Version History

Introduced in R2026b