Configure Network Card and Write Firmware
R2026bIn this step, you configure the development computer so that it can communicate with the hardware board. You must connect a dedicated Gigabit Ethernet NIC to the hardware board and connect the card to the hardware board by using an Ethernet cable. If you want simultaneous internet access and you do not have a wireless connection, you must connect a second Ethernet NIC to the development computer. In this case, consider using a USB 3.0 Gigabit Ethernet adapter dongle.
Configure Network Card on Host Computer
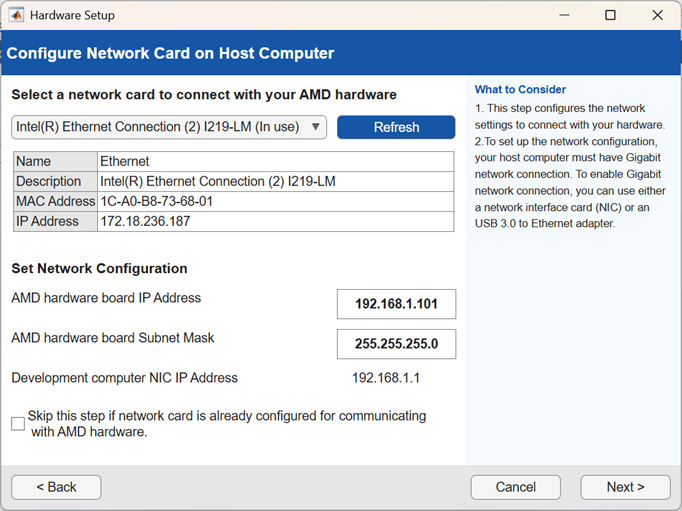
On the Configure network card on the host computer page, select the network interface card (NIC) that you want to connect with your hardware. This step is required when you select the Ethernet interface.
Select the network interface card (NIC) that you want to connect with the hardware. If you have already configured the NIC, select the check box. If you do not see your NIC, click Refresh.
The list displays the network interface cards detected on your computer and note each NIC as
(In Use)or(Available). When the NIC is connected to a device and has an assigned IP, the installer marks the NIC as(In Use).If each listed NIC is in use, disconnect one NIC from its current network connection, and then click Refresh.
If the NIC list is empty, VMWare software, if present, might interfere with NIC detection. To get an updated list of NICs on your computer, uninstall the VMWare software. Alternatively, check whether the missing NIC is disabled in the control panel. If it is disabled, enable it.
Optionally, specify an IP address for your board. Click Next. The software configures the NIC.
Configure USB Device IP Address
This step is required only when you select the USB Ethernet interface.
Configure the USB Ethernet interface so that the host computer can communicate with the hardware board. You must have a USB cable connecting the host computer to your hardware board.
Specify the IP address of the USB device in dotted quad format, for example, 192.168.1.2. Leave the IP address of the USB host as the default. When you click Next, the subsequent steps use the USB host IP address to configure the USB Ethernet interface detected on the host computer.

Select Drive Containing SD Card
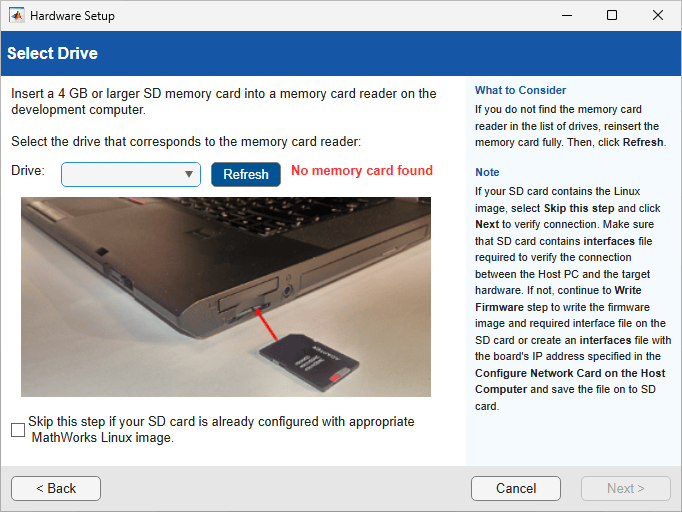
On the Select Drive page, the Hardware Setup tool writes a firmware image to the SD card. This step is required to use the hardware as an I/O peripheral. The image includes the embedded software and the FPGA programming file.
Select the location of the SD drive that contains the card. Before downloading the firmware image to the card, unlock the SD card. Keep the card unlocked while the card is in the card reader of the target board.
Insert a 4 GB or larger SD memory card into the memory card reader on the development computer. The card must be formatted as FAT32. Click Next.
If your host computer does not have access to an SD card reader, you can copy the firmware image to your SD card using a guest computer that has the SoC Blockset™ Support Package for AMD FPGA and SoC Devices and the required third-party tools installed.
To copy the SD card image from the guest computer, locate the ../3P.instrset/xilinxlinuxbinaries.instrset. If you have downloaded the required third-party tool using the automatic download mode, the folder is available in the support_package_installation_folder
/3P.instrset/ folder. In the xilinxlinuxbinaries.instrset folder, look for the SD card image for the respective board, extract the contents of the zip file, and then copy the contents to your SD card. To get to the root folder of the support packages, use the matlabshared.supportpkg.getSupportPackageRoot function.
If your SD card already has an appropriate MathWorks® Linux® image to configure the hardware, you can skip this step by selecting the Skip this step if your SD card is already configured with appropriate MathWorks Linux Image for hardware checkbox. When you select this checkbox, the Hardware Setup add-on skips the Write Firmware step and proceeds to the Set Jumper and Switch Setting for Boards step.
Write Firmware to SD Card
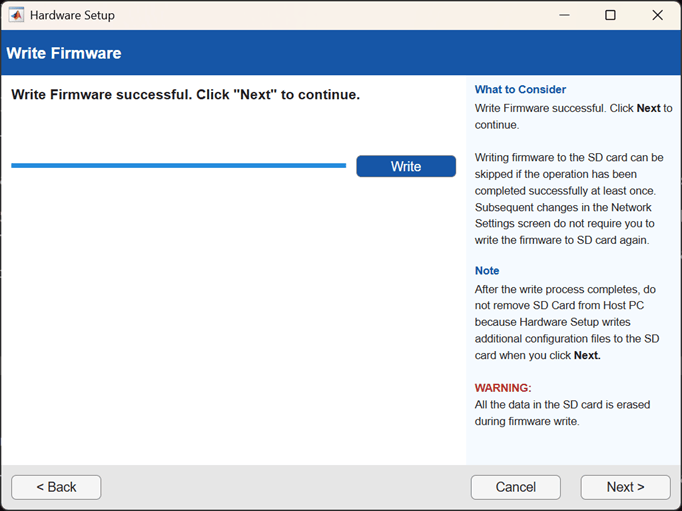
On the Write Firmware page, you write the firmware to the SD card. To copy the programming file from the development computer to the SD card, click Write. The process erases existing data on the memory card. When the write operation is complete, click Next.