Read Coils, Inputs, and Registers in Modbus Explorer
You can read coils, inputs, input registers, and holding registers in the Modbus
Explorer. This is the functionality of the Modbus®
read function.
You must first configure your device before performing read operations. For information on how to configure and connect to your device, see Configure Connection in Modbus Explorer.
To perform a read operation, enter the information about the coils, inputs, registers, or holding registers you want to control in the Read Registers table. The first row of the table is already filled in with the register you configured on the Configure tab.
To set up another register, click Insert. For each inserted row, click the Address field and enter the address of the coil, input, input register, or holding register you want to read values from. You can have same address for registers of different type.
In the Register Type column, click the down arrow to select the target type to read. You can perform a Modbus read operation on four types of targets: coils, inputs, input registers, and holding registers.
In the Precision column, click the down arrow to select the precision. Choose the data format of the register being read from on the Modbus server.
In the Name column, enter a name. A default name is provided, and you can keep it or change it.
Once you have entered all of the fields, click Resume Reads to start reading.
If the read is successful, the Read Value column fills in with the read value. If you see
'ERROR'in the Read Value field, adjust the parameters until the read is successful.To read multiple registers, add rows to the table by clicking Insert on the toolstrip. New rows are added to the top of the table. You can add as many rows as you need. For each row, fill in all of the fields for that read. While you are editing a row, reading is paused, as indicated by the
PAUSEDstatus to the left of the Resume Reads button.
After you set up the table, click Resume Reads.
The reads are performed and the status changes to
LIVE. You can also see the read values in the live plot.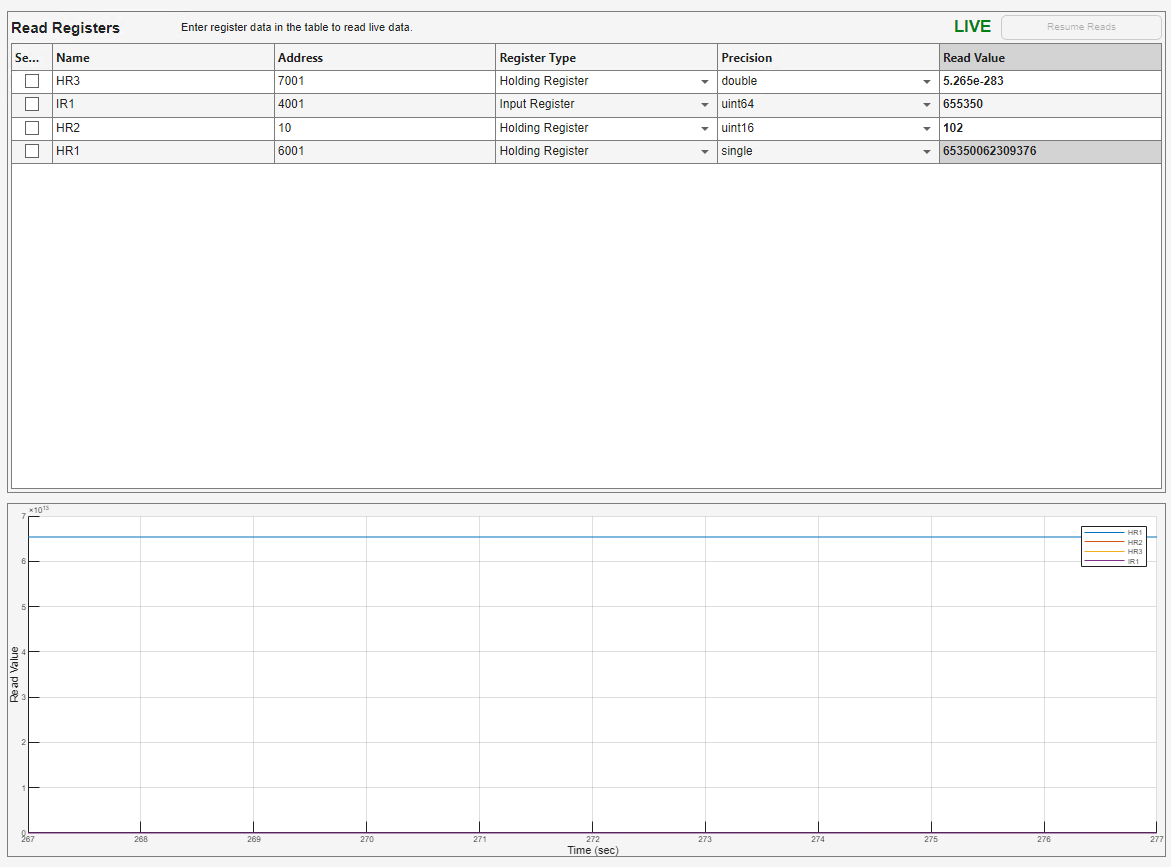
If you want to alter the plot, use the Plot Tools section. You can change the axes, show or hide the legend, and select which registers to display in the plot. The plot changes dynamically when you change any of these factors using the plot tools.
Edit Read Registers Table
You can manipulate the register table by using the buttons in the toolstrip and the check boxes in the table.
Insert - Insert a blank row at the top of the table.
Delete - Delete selected rows. Use the check boxes in the table to select rows to delete.
Move Up - Move up selected rows one position in the table. Use the check boxes in the table to select rows to move.
Move Down - Move down selected rows one position in the table. Use the check boxes in the table to select rows to move.
Sort - Sort the register table data by column value. Click Sort and choose Name to sort in alphabetic order of name, Address for ascending order of address, Register Type for alphabetical order of register type, or Precision for alphabetical order of precision.
Import or Export Read Data
You can export the contents of the Read Registers table to use again later.
To export the register table configuration, click the Export button in the toolstrip. In the Save dialog box, choose a file name and navigate to the save location, then click Save. The table is saved as a MAT file.
To import the contents back into the Read Registers table, click Import in the toolstrip. In the Load dialog box, navigate to the saved MAT file, select it, and click Open.